Image correction
Review each automatically corrected photo in order and manually adjust only the ones that need it.
How to open it
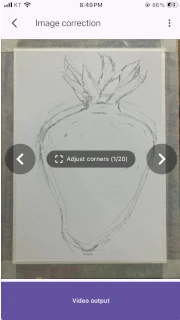
Section titled “How to open it”Tap the Adjust corners button at the bottom of Image selection to open the image correction screen.
Tap the center Adjust corners button to go to Corner adjustment.
When you finish Corner adjustment, you return to the last image you were viewing in the image correction screen. This image is the result of the transformation using the adjusted corner values.
If there are more photos, the app also estimates the corner values for the next image based on the adjusted values and pre-sets them for you.
Review and move through photos
Section titled “Review and move through photos”Swipe left or right, or tap the previous and next buttons on the left and right sides of the screen to switch to the photo you want to adjust.
Available actions
Section titled “Available actions”- Tap
Adjust cornersto manually align the four paper corners in the current photo. - After moving to the last image, tap
Pro: Apply Ken Burns effectto set up Ken Burns. - After checking all photos, continue to
Video output.
States and limits
Section titled “States and limits”A preparing state is shown while automatic tracking is running, and unsupported or failed-to-load images cannot be corrected normally.
Next step
Section titled “Next step”If a paper area is not aligned, fix it in Corner adjustment, and when preparation is complete, continue to Video output.